

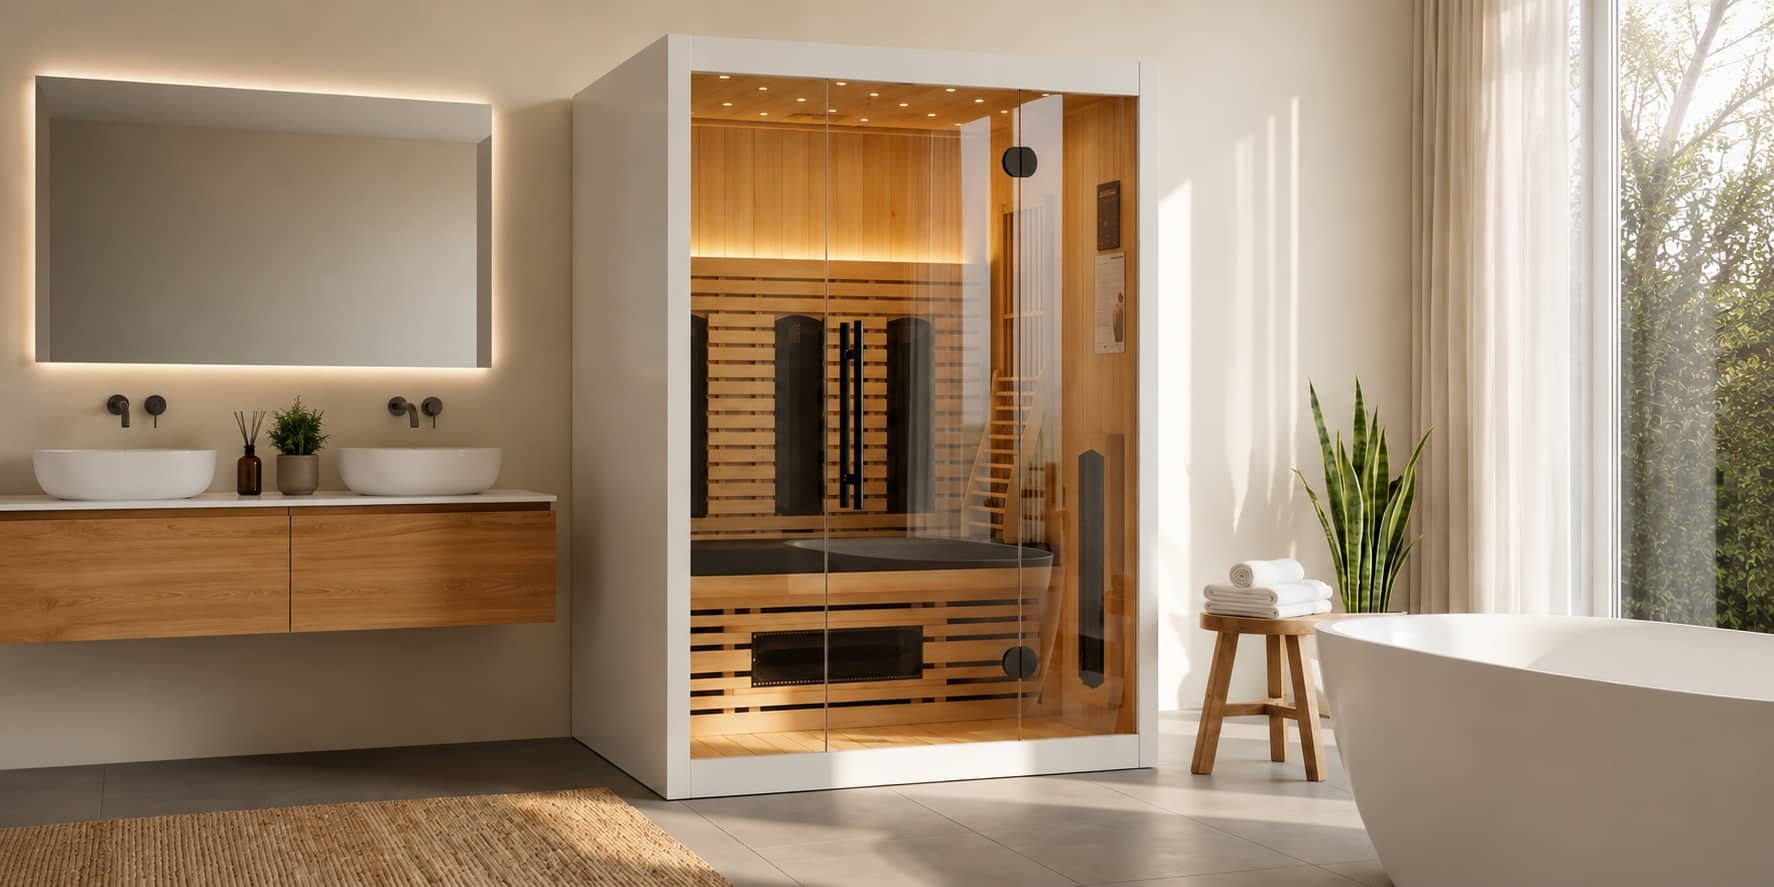
Infrared sauna preparation: How to arrange it properly
A carefree installation starts with the right preparation. By getting your space, power supply, and surface ready in time, you will enjoy your infrared sauna sooner and for longer. Follow the steps below to get everything ready.
A Good Base
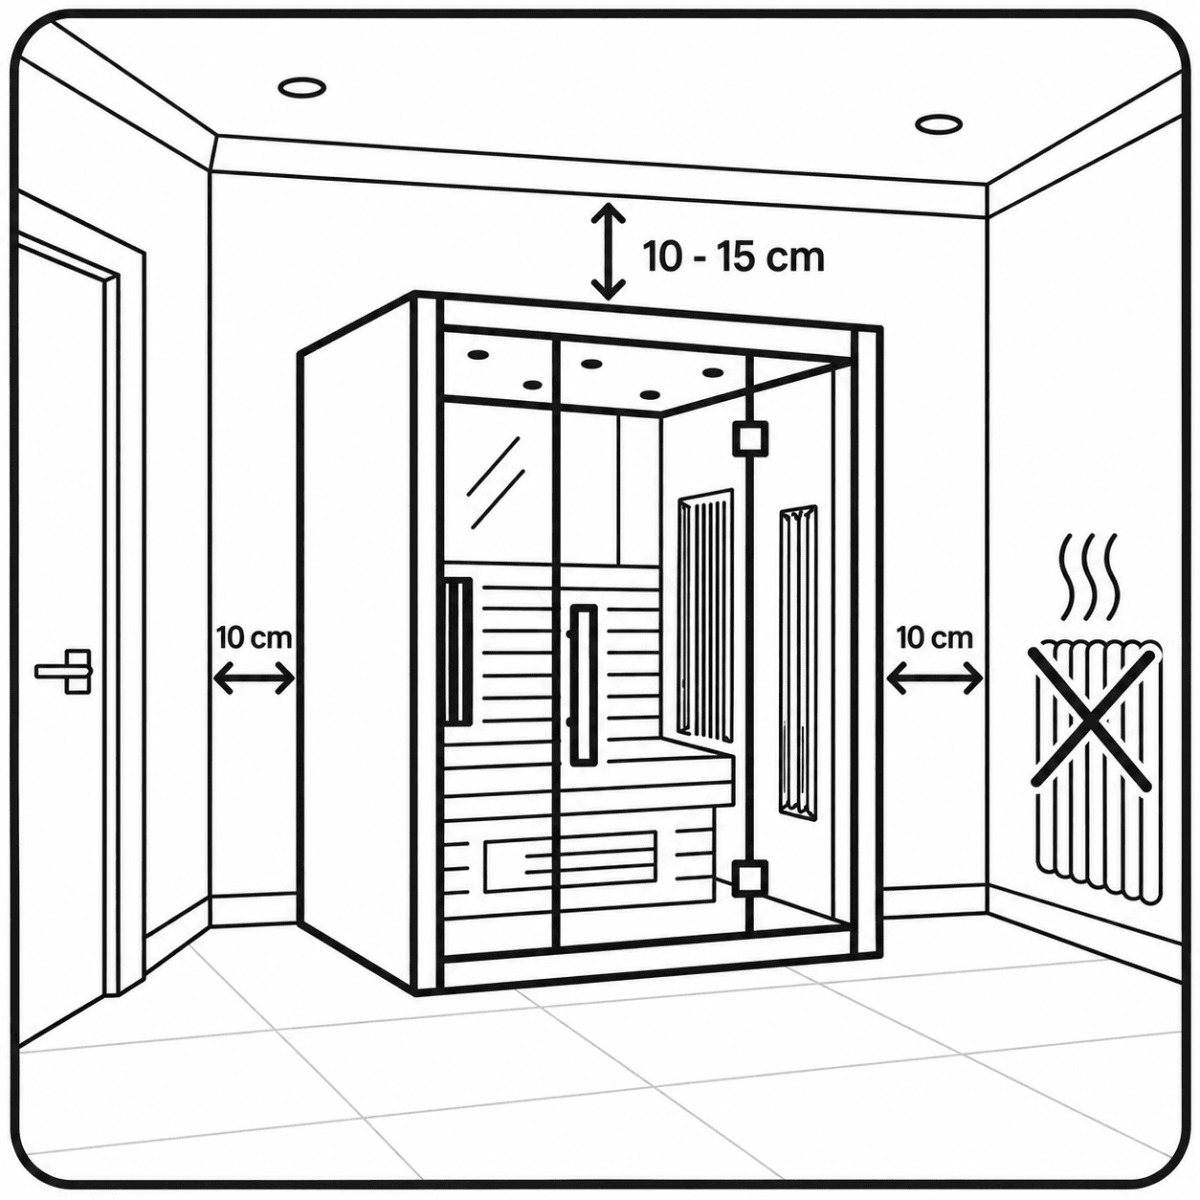
The sauna must be placed on a level, stable and dry surface. Make sure there is at least 10 cm of free space at the sides and rear for ventilation. Also pay particular attention to the ceiling height: for fitting the roof panel and connecting the electrical components, you need 10 to 15 cm of free space between the top of the sauna and the ceiling. Finally, do not place the sauna directly next to a radiator or other heat source.
Access to the Room
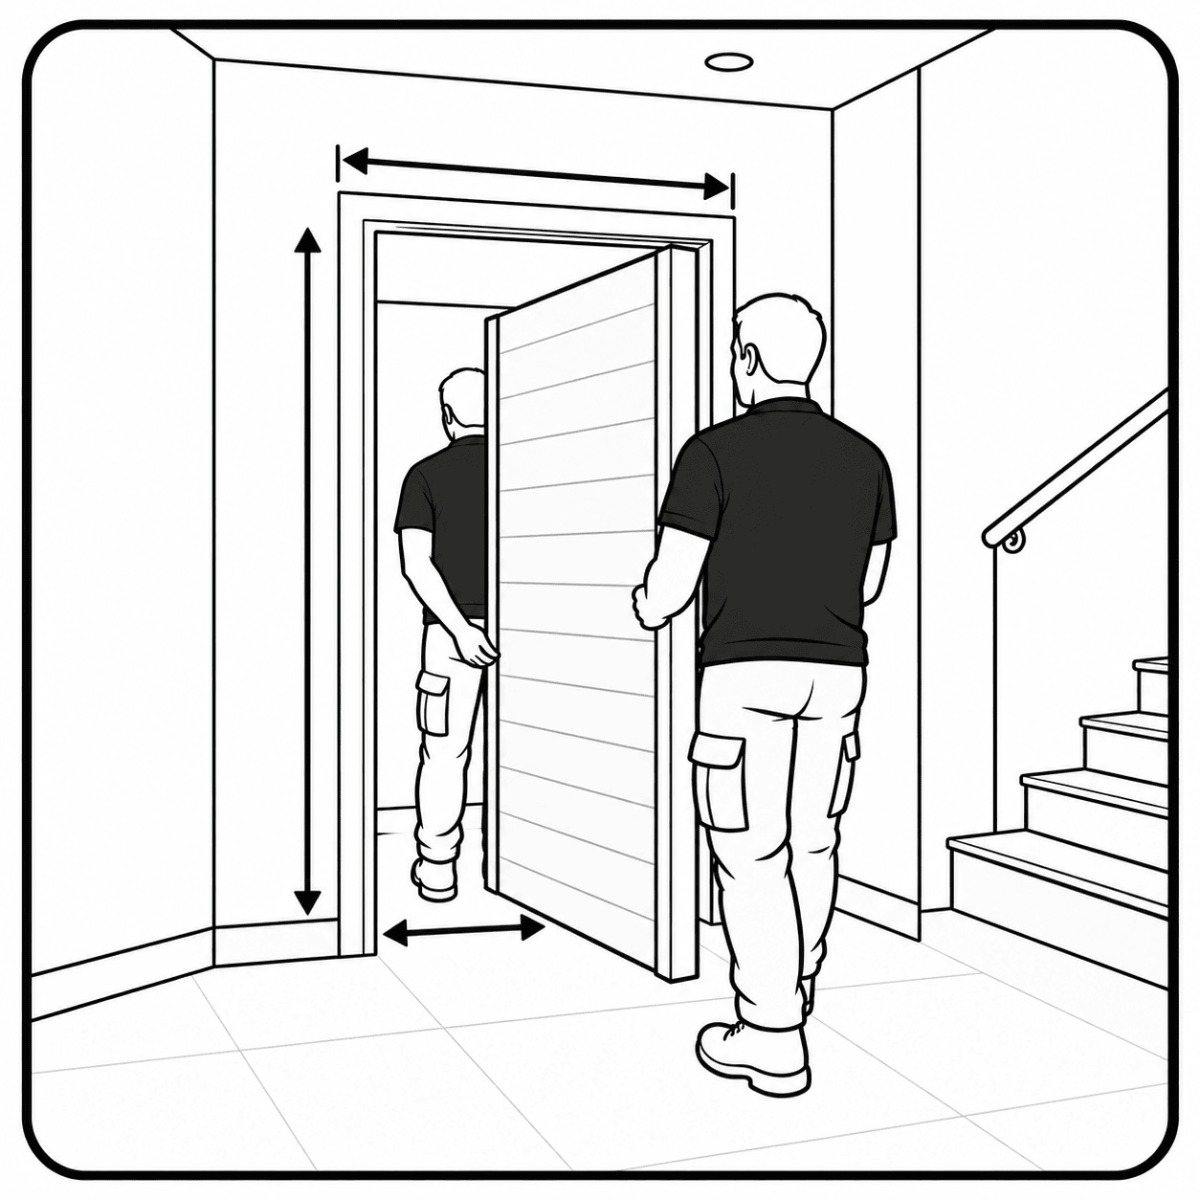
Make sure the panels can fit through the doorways, hallways and stairwells. Pay particular attention to the dimensions of the largest panel. Check that the height, width and depth of the panels are compatible with the available access routes, and make sure that any obstacles have been removed beforehand.
Electrical Connection
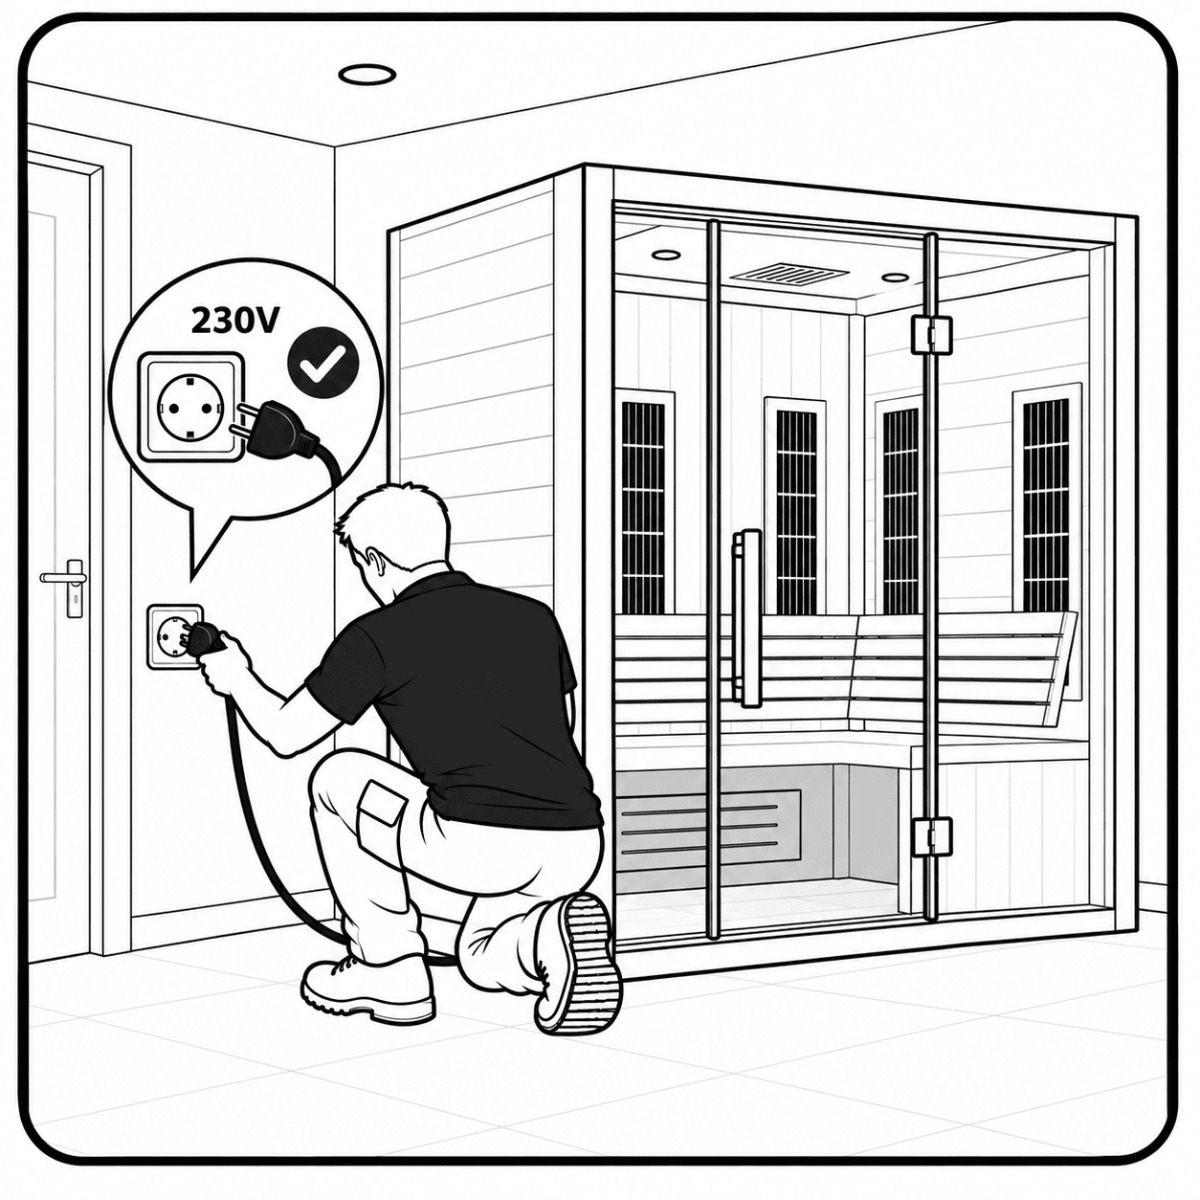
Most infrared saunas operate on a standard grounded 230V socket. Preferably connect the sauna directly to the socket without using an extension lead. If the distance is too great, use a high-quality, heavy-duty extension lead suitable for the required power.
Also take the load on the electrical circuit into account. An infrared sauna typically consumes between 1,500W and 3,000W. Make sure that no other high-power appliances, such as a washing machine, tumble dryer or dishwasher, are switched on at the same time on the same circuit.
Always check the specific electrical requirements in the manual for your model.
Assembly Preparation
Make sure there is enough working space for the assembly and that the area around the sauna is clear of furniture and other obstacles.
Also make sure that the stairs, hallways and other access routes are completely clear. If additional help is required to carry the panels to the installation area, arrange this in advance.
Make sure you have the supplied assembly manual available before starting the installation. The exact assembly process may vary depending on the model. Therefore, always use the manual for your specific infrared sauna as your guide.
Ready for Assembly?
Before starting the assembly, check that:
- The surface is level, stable and dry;
- There is at least 10 cm of free space at the sides and rear;
- There is 10 to 15 cm of free space above the sauna;
- The dimensions of the sauna and the largest panels have been checked;
- All access routes and the path to the installation area are clear;
- The correct electrical connection is available;
- There is sufficient working space around the sauna;
- The assembly manual is available.
Good preparation helps ensure that the assembly can be carried out without unnecessary delays. The exact requirements may vary depending on the infrared sauna. Therefore, always check the product information and manual for your chosen model.
Still have questions?
Do you have any questions after reading these preparation tips? Please visit our knowledge base for a complete overview of all frequently asked questions.
Need personal advice?
Are you unsure whether your space is suitable for a sauna, or do you have a specific question about the power connection? Our team is ready to help you think through the possibilities.
Click here to contact us.
For points of sale and opening hours of SuperSauna in the Netherlands and Belgium: click here.